
Planted Aquarium Substrate: Simple Setup Guide for Beginners
In the world of aquascaping, the planted aquarium substrate plays the same role as soil in a garden. In this beginner-friendly guide from Terrarium, you’ll learn what a planted aquarium substrate consists of, how to layer it correctly, and how to avoid common setup mistakes.
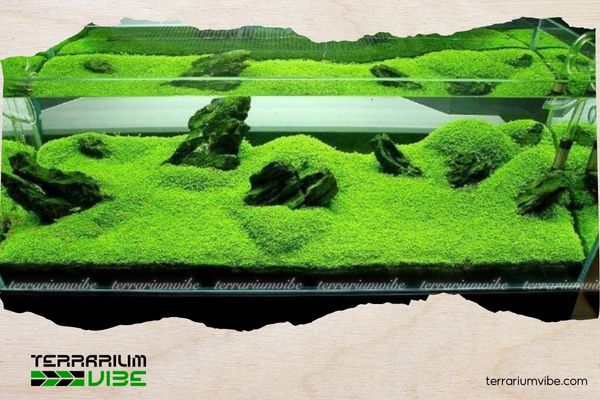
Basic Layers of a Planted Aquarium Substrate
Setting up a planted aquarium substrate isn’t just about dumping soil into your tank. A proper setup usually involves 2–3 layers, each with a specific role in supporting plant health and water quality.
- Base Layer (Optional)
- Common materials: lava rock, pumice, crushed ceramic
- Function: improves water flow, prevents compaction, and reduces toxic gas buildup (like hydrogen sulfide)
- Suggested thickness: 1–2 cm
This layer is placed directly on the bottom of the tank and is especially useful in larger setups or those with heavy planting.
- Nutrient Substrate Layer
- Examples: ADA Amazonia, GEX, Tropica, or DIY mixes like Tribat or Akadama
- Function: provides essential macro- and micronutrients for terrarium plants
- Thickness: 4–7 cm depending on the plant species (root-heavy plants like stem plants or red plants need more depth)
This is the core of your planted aquarium substrate, acting as the main nutrient source for root-feeding plants.
- Capping Layer (Inert Substrate)
- Materials: sand, gravel, or Power Sand
- Function: prevents nutrient clouding, improves visual aesthetics, and keeps the substrate stable during water changes
Adding a cap layer helps finish off your planted tank cleanly while protecting the nutrient substrate underneath.
Basic Layers of a Planted Aquarium Substrate
How to Set Up a Planted Aquarium Substrate
Here’s a step-by-step process to help you lay down your planted aquarium substrate properly:
- Step 1: Clean the Aquarium
- Wipe the glass with a clean cloth or alcohol (no soap)
- Make sure no dust, oil, or chemical residue remains
- Step 2: Add the Base Layer (Optional)
- Spread lava rock or similar porous media 1–2 cm thick across the bottom
- Focus it where you plan to plant heavily; full coverage isn’t always necessary
- Step 3: Add the Nutrient Substrate
- Pour the nutrient substrate evenly across the tank floor
- Create a gentle slope from back to front (6–8 cm in the back, 3–5 cm in the front) to enhance depth perception
- Use a straight tool or your hands to shape the substrate
- Step 4: Add the Capping Layer
- Gently cover the nutrient layer with 1–2 cm of sand or gravel
- If using white or light-colored sand, apply a thinner layer to allow gas and nutrient exchange from below

Set Up a Planted Aquarium Substrate
Common Mistakes When Setting Up a Planted Aquarium Substrate
Many beginners face issues due to simple but avoidable substrate mistakes. Here are some to watch for:
- Too thin: insufficient root support; plants may float
- Too thick: may lead to excess nutrients and algae
- No slope: creates a flat, unnatural layout
- Low-quality substrate: can cloud the water or disrupt tank balance

Some Common Mistakes When Setting Up
Tips for a Better Substrate Setup
Make the most of your planted aquarium substrate setup with these beginner-friendly tips:
- Avoid pouring water directly onto the substrate: Use a plastic bag or plate to soften the flow and avoid disturbing the layers.
- Do not mix nutrient and inert layers: This can cloud the water and reduce substrate efficiency.
- Don’t compact the substrate too tightly: A looser texture promotes better root growth and oxygen circulation.

Tips for a Better Substrate Setup
A properly layered planted aquarium substrate is one of the keys to a thriving, algae-free, and visually stunning aquascape. We hope this guide from Terrarium helps you feel confident setting up your own planted tank. Stay tuned for more easy-to-follow guides and tips for aquascaping success!